
Why Does Your Commercial Deep Fryer Still Fail Hygiene Inspections After Cleaning?
Busy kitchens often believe that daily commercial fryer cleaning is enough. Unfortunately, grease carbonization, hidden food residue, and incorrect shutdown procedures gradually reduce fryer efficiency and create serious food safety risks. The result is higher oil consumption, unstable frying temperatures, unexpected equipment failures, and failed sanitation inspections. Even worse, aggressive chemicals or improper cleaning methods may damage stainless steel tanks, heating elements, drain valves, and temperature sensors. A structured deep fryer cleaning process not only protects expensive equipment but also extends oil life, lowers maintenance costs, and ensures consistent food quality. Whether you purchase from a professional Manufacturer, reliable Supplier, or require OEM and ODM solutions, following standardized maintenance procedures is essential for maximizing equipment performance and operational safety.
The safest way to clean a commercial deep fryer is to follow a controlled shutdown, complete oil removal, approved boil-out procedure, careful valve and basket cleaning, and final leak inspection. As a professional Manufacturer and Supplier, our company recommends standardized maintenance practices to improve hygiene, extend equipment lifespan, and reduce operating costs.
Understanding each maintenance stage makes cleaning safer, faster, and more effective. The following technical guide explains every critical step, highlights common mistakes, and provides practical recommendations that commercial kitchens, food factories, and restaurant chains can immediately implement.
Shutdown and Oil Removal
The first step of safe commercial fryer cleaning is performing a controlled equipment shutdown. Never begin cleaning immediately after cooking because frying oil normally remains between 170°C and 190°C. Hot oil presents severe burn hazards and may damage cleaning equipment if drained too early.
Follow this sequence:
- Turn off the burner or heating elements.
- Disconnect electrical power or close the gas supply.
- Allow the oil temperature to decrease to approximately 40–50°C.
- Wear heat-resistant gloves, splash-resistant apron, face protection, and non-slip footwear.
- Prepare an approved oil collection container.
Many experienced kitchens filter reusable oil before disposal. Filtering removes suspended particles and extends oil service life, reducing operating expenses.
After cooling, slowly open the drain valve. Avoid sudden opening because remaining pressure or food particles may cause splashing. During deep fryer cleaning, inspect the drained oil for:
- Dark coloration
- Excessive foaming
- Burnt odor
- Heavy carbon particles
- Water contamination
These indicators often suggest overheating or poor maintenance scheduling.
| Parameter | Recommended Value | Risk if Ignored |
|---|---|---|
| Oil temperature before draining | 40–50°C | Burn injury and equipment damage |
| Normal frying temperature | 170–190°C | Accelerated oil degradation |
| Protective equipment | Full PPE | Personal injury |
Professional Manufacturer and Supplier designs usually include Customizable drain systems, making oil removal faster while reducing operator exposure to hot oil.
Boil-out Procedure Boundaries
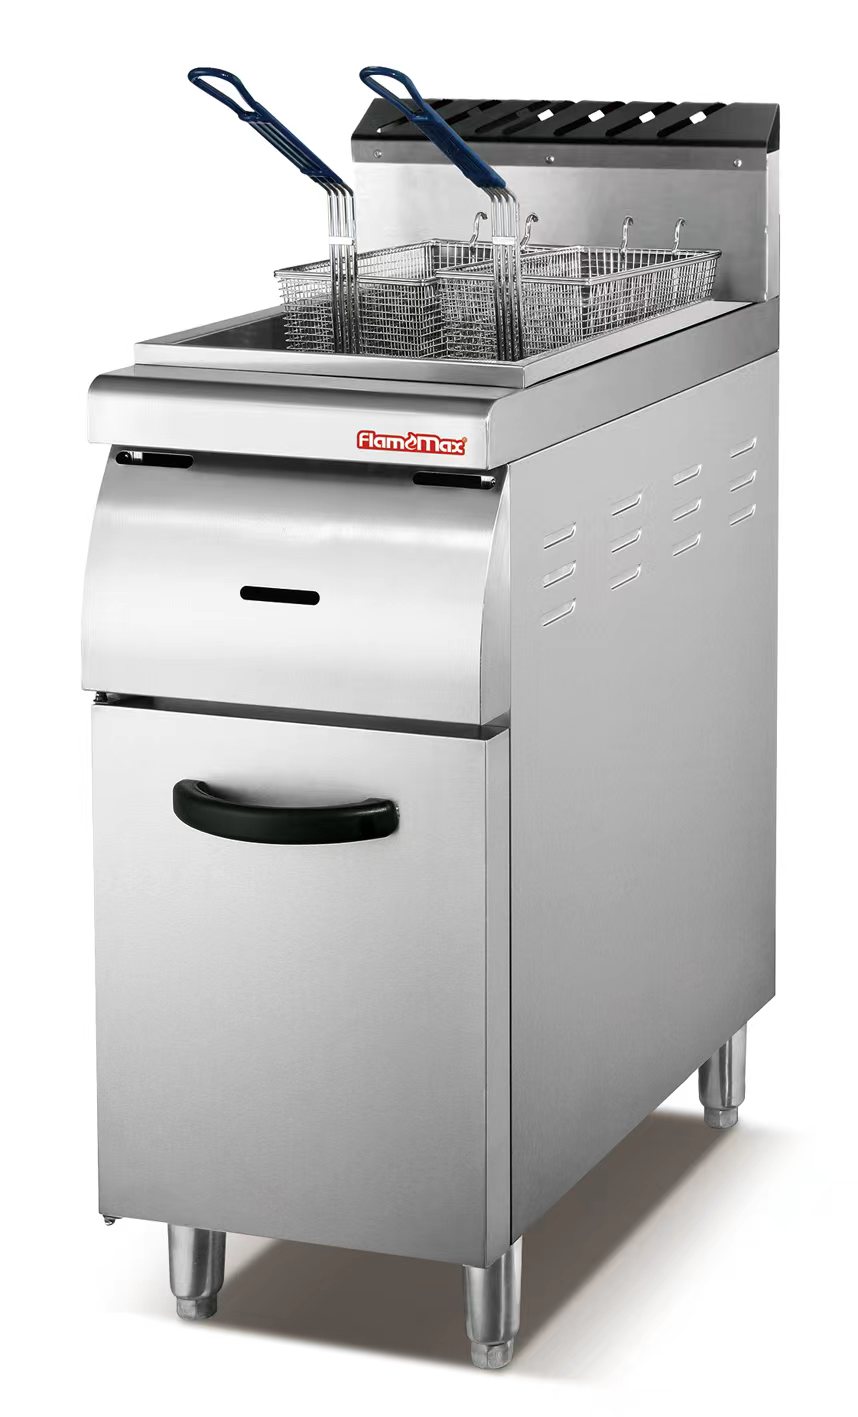
The boil-out process removes stubborn grease, polymerized oil, and carbon deposits that standard washing cannot eliminate. However, it must remain within clearly defined operating limits to prevent equipment damage.
After draining the oil, refill the fry pot with clean water to the recommended fill line and add an approved fryer cleaning chemical according to the manufacturer’s instructions. Never exceed the recommended chemical concentration because excessive alkalinity may attack stainless steel welds and protective surface finishes.
Heat the solution gently to approximately 85–95°C. Avoid vigorous boiling. Excessive temperatures can create unnecessary stress on welded joints and heating components.
During the boil-out process:
- Monitor water level continuously.
- Never leave the fryer unattended.
- Do not exceed recommended cleaning duration.
- Use only non-abrasive brushes.
- Rinse thoroughly after draining.
One common mistake during commercial fryer cleaning is using metal scrapers. These tools scratch stainless steel surfaces, creating microscopic grooves that trap grease and bacteria.
Professional commercial fryer cleaning tools normally include:
- Nylon fryer brushes
- Long-handle cleaning rods
- Drain cleaning brushes
- Food-grade scraper pads
- Chemical-resistant buckets
| Cleaning Method | Cleaning Efficiency | Surface Protection |
|---|---|---|
| Approved boil-out | Excellent | Excellent |
| Metal scraping | Moderate | Poor |
| Cold detergent washing | Low | Good |
Many global customers selecting OEM or ODM fryers also request Customizable cleaning systems that simplify scheduled maintenance and reduce labor costs.
Drain Valve and Basket Cleaning
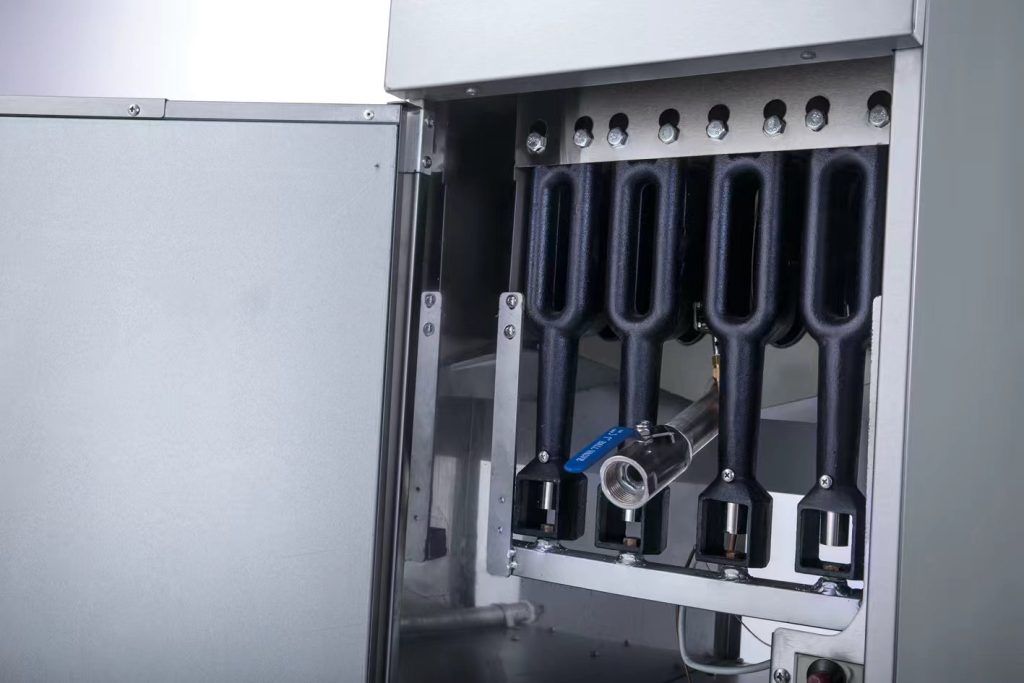
The drain valve is frequently overlooked during deep fryer cleaning, yet it is one of the most contamination-prone components. Small food particles accumulate inside the valve body, eventually restricting oil flow and creating sanitation problems.
After the fry pot has been emptied:
- Disassemble removable valve components if permitted.
- Flush the valve using warm water.
- Use specialized commercial fryer cleaning tools to remove internal deposits.
- Inspect seals for cracking or deformation.
- Lubricate food-grade seals when required.
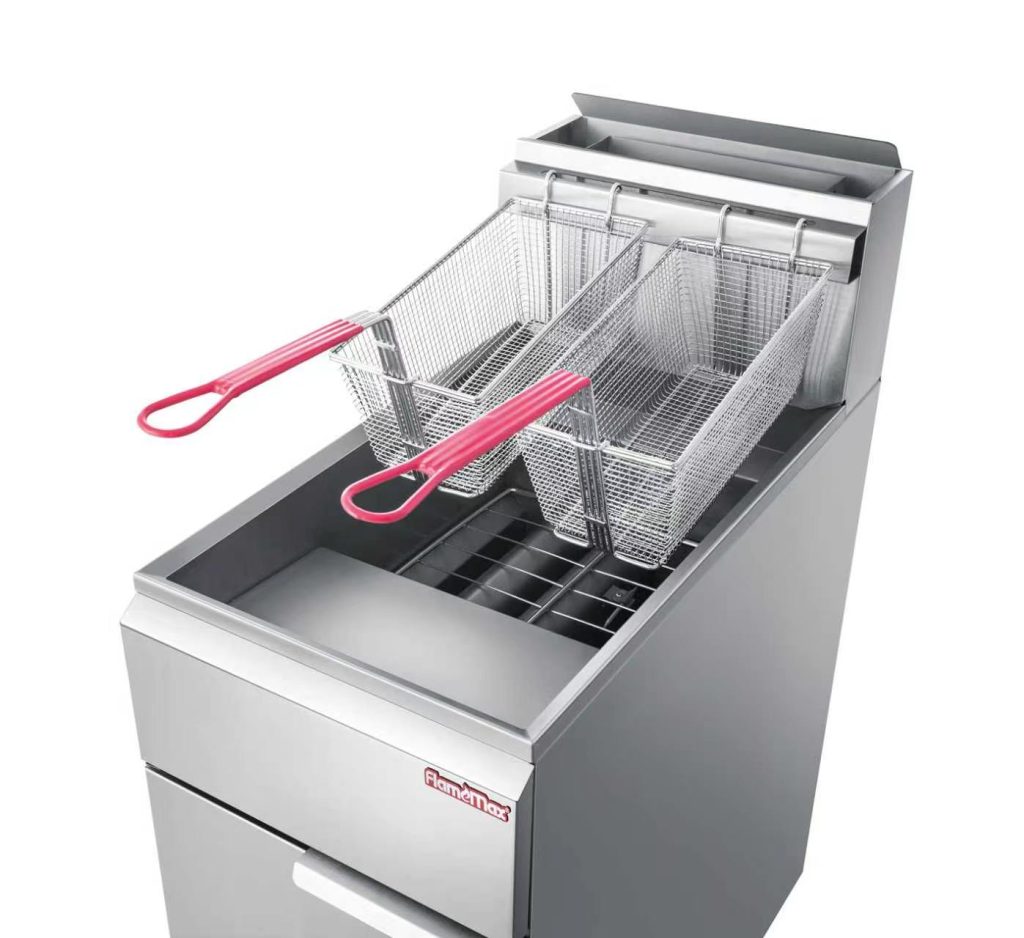
Cleaning baskets also deserves careful attention. Carbonized batter sticks firmly to basket mesh and gradually reduces oil circulation during frying.
Recommended basket cleaning includes:
- Soaking in approved cleaning solution.
- Scrubbing with nylon brushes.
- Removing carbon buildup from welded joints.
- Inspecting basket handles for looseness.
- Checking mesh integrity.
Any damaged basket should be replaced immediately because broken wire mesh may contaminate food products or create employee safety hazards.
A professional Manufacturer often designs fryer baskets using heavy-duty 304 stainless steel, while an experienced Supplier can provide OEM or ODM basket specifications for different production capacities.
Reassembly and Leak Check
Cleaning is only complete after proper reassembly and comprehensive leak inspection. Incorrect installation of valves, sensors, or heating components may lead to oil leakage, unstable temperature control, or unexpected downtime.
Before adding fresh cooking oil, carefully inspect:
- Drain valve alignment
- Valve gasket condition
- Temperature sensor installation
- Heating element positioning
- Fastener tightness
Next, perform a leak test using clean water before filling with cooking oil. Observe all welded joints, drain connections, and valve interfaces for several minutes.
If leaks appear:
- Stop filling immediately.
- Locate the leak source.
- Replace damaged seals.
- Retighten fittings according to specifications.
- Repeat the inspection.
After confirming leak-free operation, dry the tank completely because residual water causes dangerous oil splattering during startup.
Routine inspection records should document cleaning dates, oil replacement frequency, leak history, and maintenance actions. These records improve preventive maintenance planning and support food safety audits.
Leading Manufacturer and Supplier partners increasingly provide Customizable OEM and ODM maintenance documentation, making equipment management easier for restaurant chains, central kitchens, and industrial food processing facilities.
Conclusion
Safe commercial fryer cleaning protects food quality, reduces operating costs, and extends fryer lifespan. Follow standardized shutdown, boil-out, component cleaning, and leak inspection procedures consistently. Contact our experienced Manufacturer team today for Customizable OEM and ODM commercial fryer solutions and professional technical support.


 English
  Español
  Français
  Italiano
  日本語
日本語  Deutsch
  Русский
  한국어
한국어  简体中文
简体中文